
Using Arduino and TIP120 to control a DC Motor
If you are in a need to control the speed of a Dc Motor for one of your projects but you don’t care about the direction then the easiest and cheapest way is through a Darlington transistor like TIP120. Because Arduino cannot supply enough power to the motor(only 40mA maximum) we have to use external power supply. A small dc motor will require around 500mA at full speed so if you try to drive it from an Arduino pin probably a damage would occur. And of course there is a possibility your motor may require 12v or higher voltage so external power supply is the only way to go.
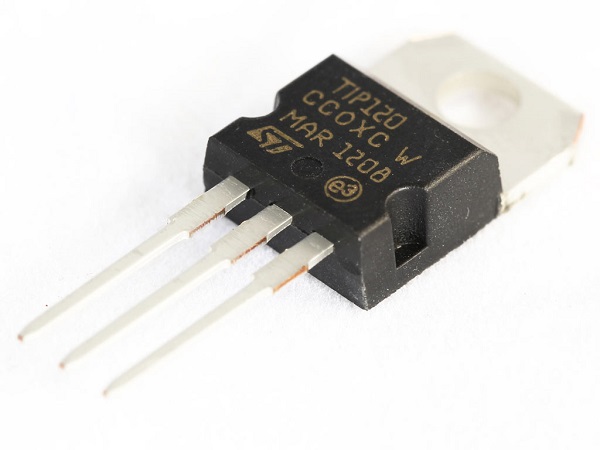
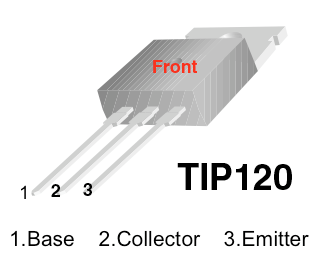
Transistors are like digital switches, they have 3 pins , the Collector(C), the Base(B) and the Emitter(E). Whenever we apply voltage to base, the transistor turns on and allows current to flow through emitter and collector. So by applying small current we can control larger currents. In our case we are going to use digital pin 9 which is PWM. This means that it turns high so many times as the value we pass. More about pulse width modulation here. In this way we are controlling the speed. Remember that the value we are getting from the potentiometer ranges from 0 to 1023 and pwn needs to be from 0 to 255, so we need to convert it. Just divide the reading value by 4.
Also in our circuit we are going to use a diode for protection. Diodes protect from reverse voltage and its a good idea to use them in our circuits.
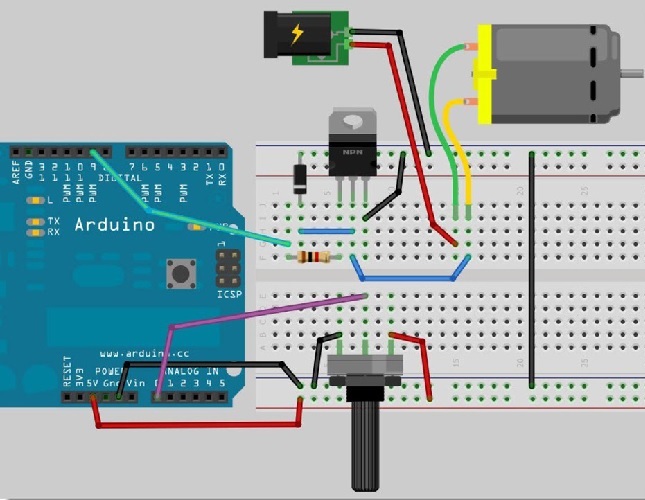
Below is the schematic you can use:
And the code is very simple:
int potPin = 0; // Analog in 0 connected to the potentiometer
int transistorPin = 9; // PWM Pin 9 connected to the base of the transistor
int potValue = 0; // value returned from the potentiometer

void setup() {
  // set the transistor pin as output:
  pinMode(transistorPin, OUTPUT);
}
void loop() {
  // read the potentiometer, convert it to 0 - 255:
  potValue = analogRead(potPin) / 4;
  // use that to control the transistor:
  analogWrite(transistorPin, potValue);
}
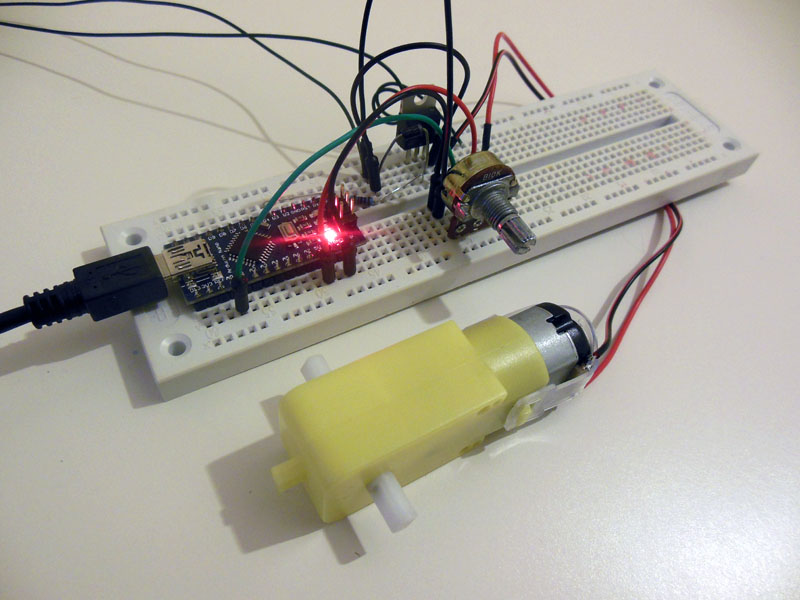
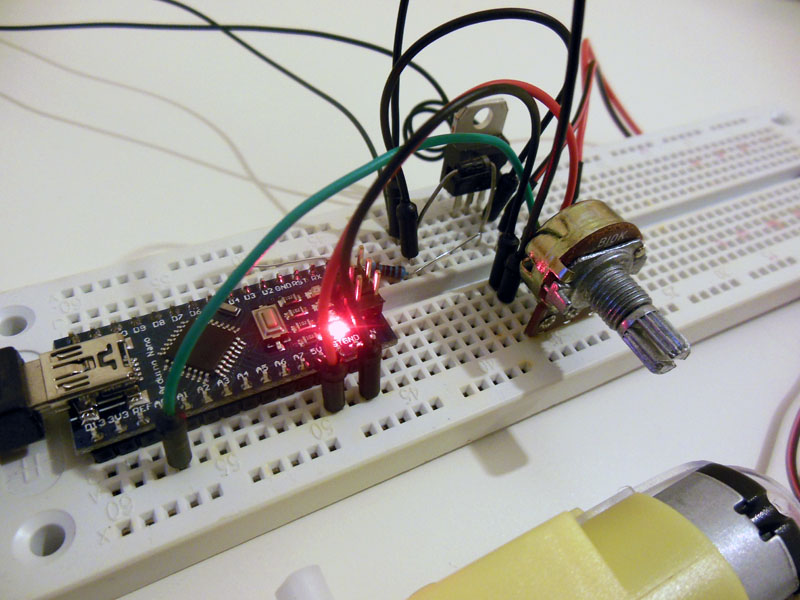
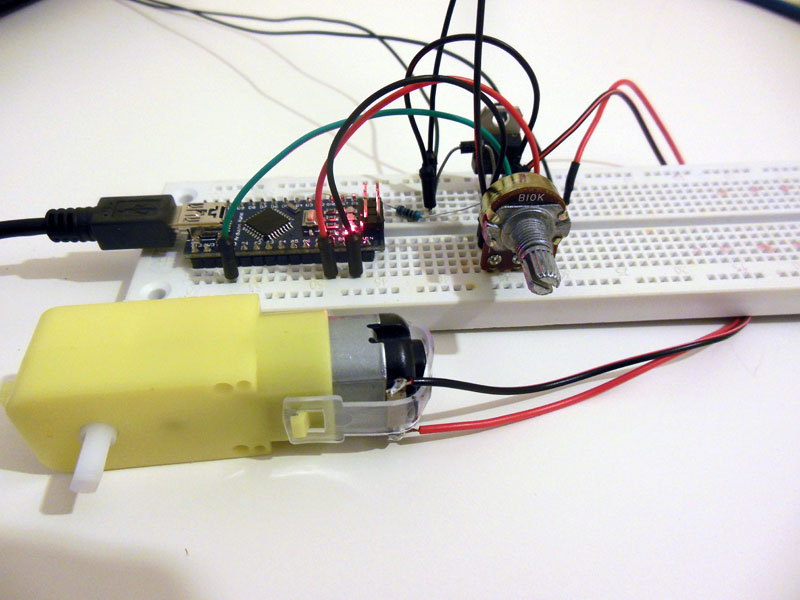
So if you connected everything ok you should have something similar to this:
Now power the circuit and change the value of the pot. You should see the motor spinning.
A small video from my circuit below.
Good luck 🙂
4 thoughts on “Using Arduino and TIP120 to control a DC Motor”